Active Travel
Create a Route of your Heritage Trail#
After you have created your route on Active Travel Scheme Sketcher
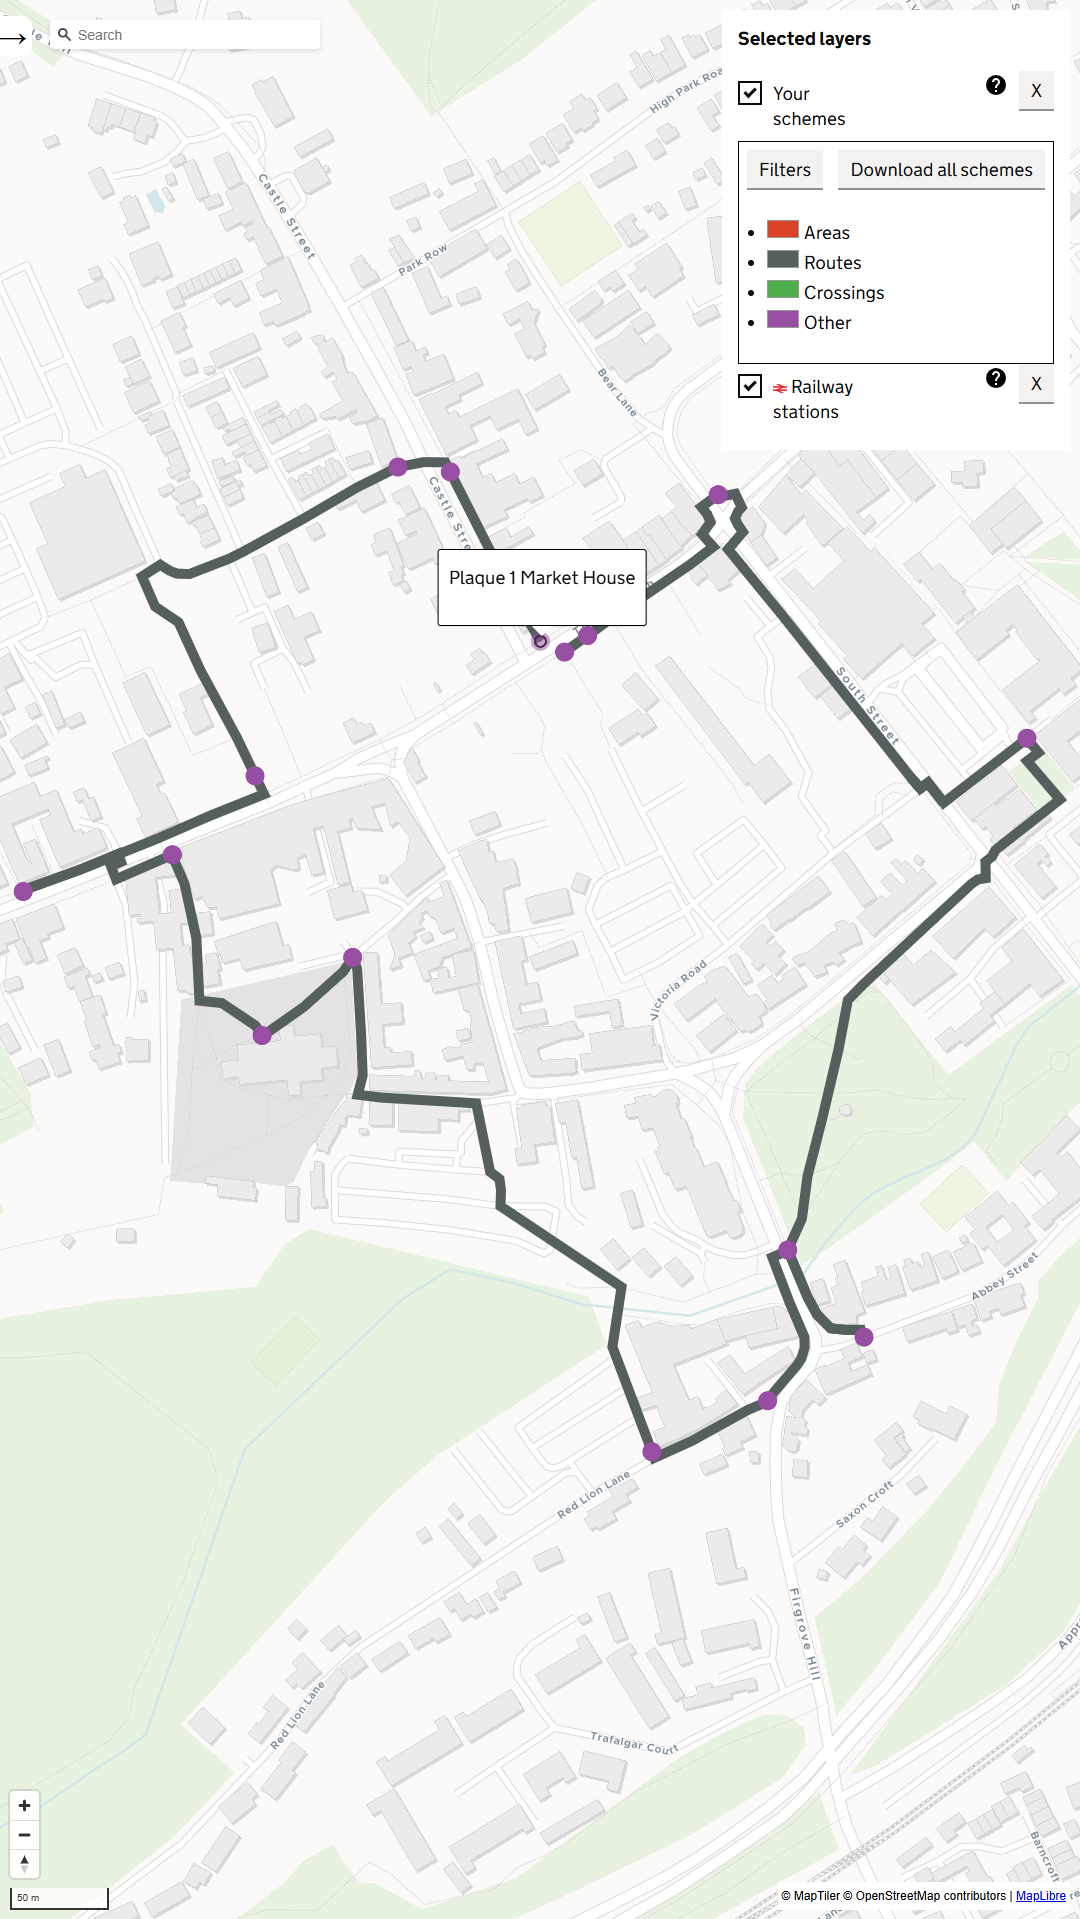
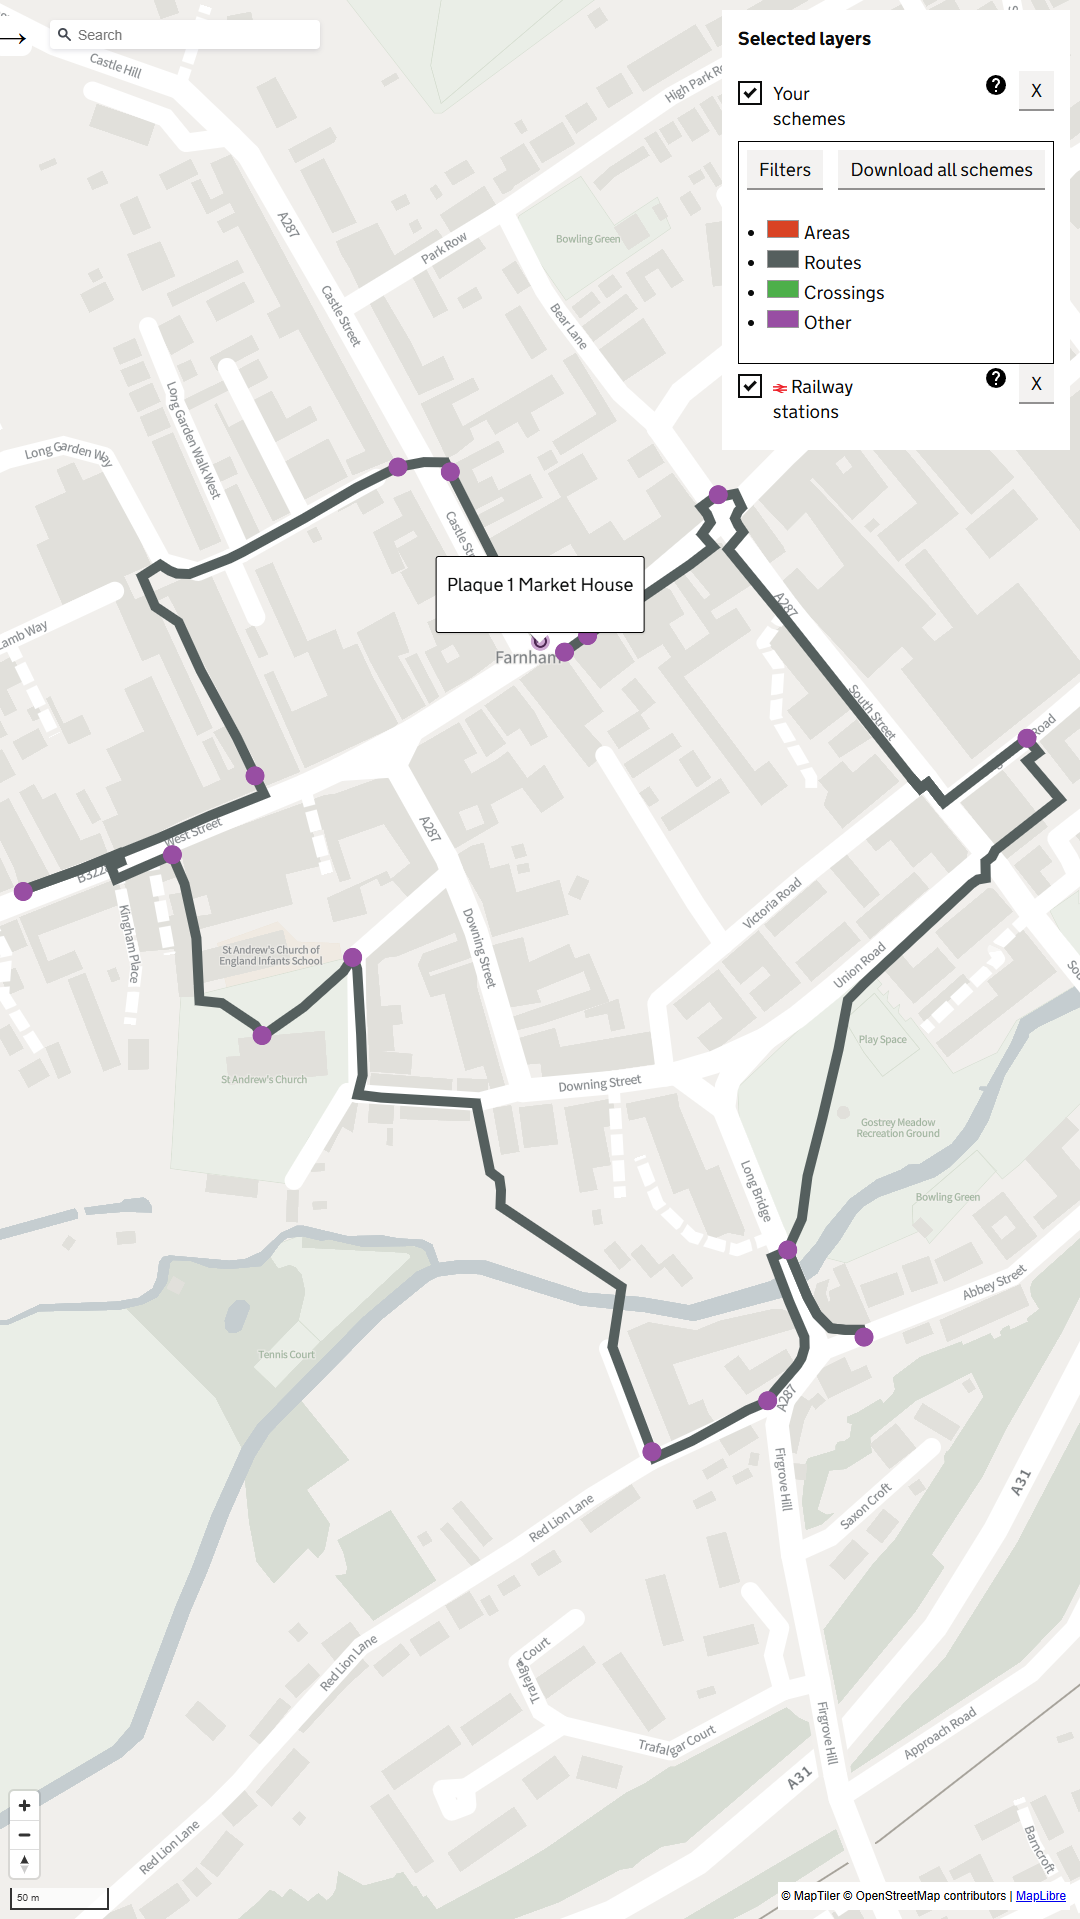
This is an example of a walking route in Farnham Surrey see offical council webpage Farnham Heritage Trail
Screenshots of Active Travel of route with Waypoints#
| Satellite | Dataviz | OS Open Zoomstack |
|---|---|---|
 |
 |
 |
- Example Geojson file Active Plan route for Farnahm Hertiage Trail which can be loaded directly into Scheme Sketcher
Get outside and take some photos and record paths#
Mobile App Overview#
- Next open up the PIC2BIM mobile app, and go Tasks to start to recording your path with geotagged photos.
| 1.Tasks | 2. Photo |
|---|---|
 |
 |
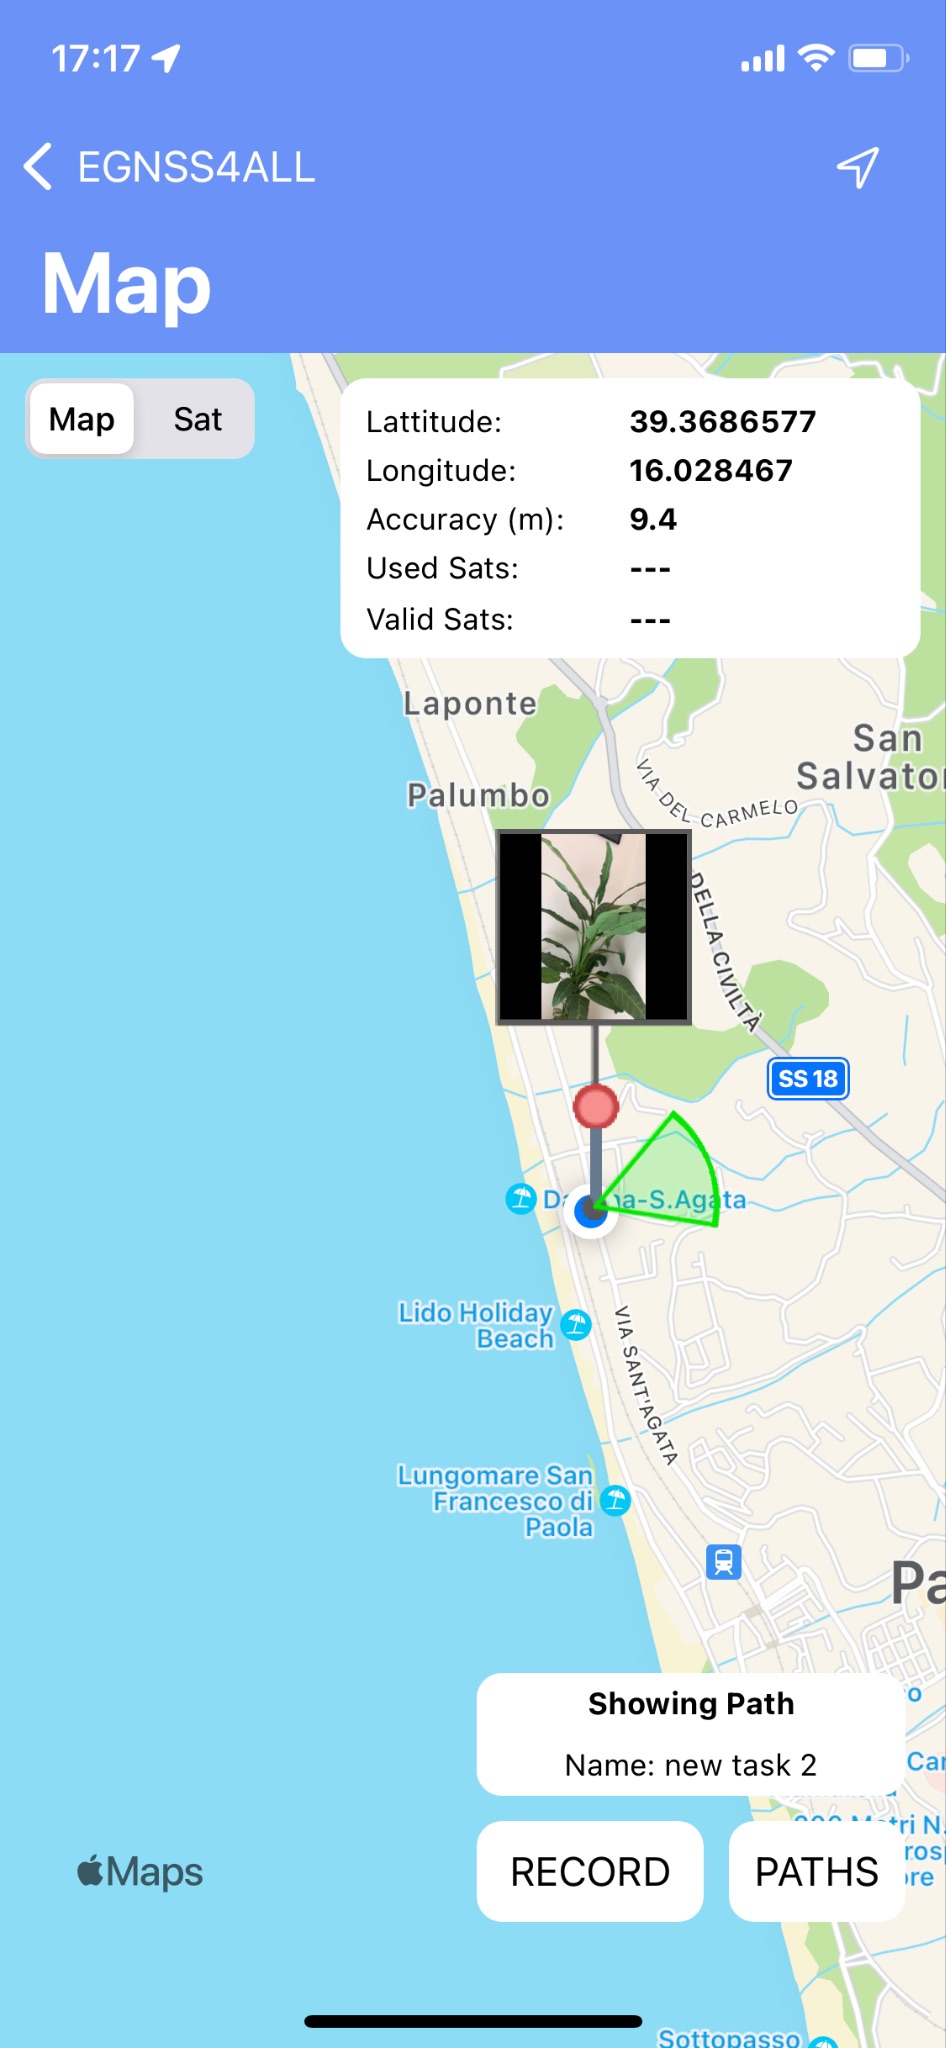
Map#
The map is showing a group of photos of the logged in user (from sets of individual photos or photos within tasks and the currently recorded or already recorded paths
| First Header | Second Header | Third Header |
|---|---|---|
 |
Center | Right |
Fig. 29 The map photos and tracked paths
If location data is available, the current position will be marked on the map in the form of a blue dot
![]() . Button
. Button
![]() switches the map view to a satellite or a map view.
switches the map view to a satellite or a map view.
There is a black dot in the photo mode of the map at the location where
the image was taken, with a small icon above it. The green circle
determines the azimuth direction of the mobile device's screen at the
time the photo was taken. Press the image icon to display an overview of
the basic attributes of the image. You can record a path in the map
view. Click the RECORD button, the dialog opens for entering a path
name, which is optional. When this dialog is confirmed, the path will be
recorded. The user can switch the application screens at will when
recording the path, but the application must remain active. The path is
recorded in the form of points, between which there is an approximate
recording interval of 1 second. When recording, the path is
simultaneously drawn on the map in the form of a black linearly angled
curve. Each point on the curve is represented by a pin
![]() . When you click on it, an overview of its geolocation data is
displayed. Click the STOP button to end the recording. The path is then
drawn as a polygon, where the first and last points of the path are
connected. Click the PATHS button to go to the list of already
recorded paths (Paths), where you can select a path to draw it on the
map. Fields id and name of the drawn path on the map (currently
recorded or already recorded) are displayed in the overview next to the
buttons for recording the route. Clicking in this report will move the
map view to this path. In the application settings, you can turn on a
sound tone when recording a path point and automatically pan the map
view to the current location during recording.
. When you click on it, an overview of its geolocation data is
displayed. Click the STOP button to end the recording. The path is then
drawn as a polygon, where the first and last points of the path are
connected. Click the PATHS button to go to the list of already
recorded paths (Paths), where you can select a path to draw it on the
map. Fields id and name of the drawn path on the map (currently
recorded or already recorded) are displayed in the overview next to the
buttons for recording the route. Clicking in this report will move the
map view to this path. In the application settings, you can turn on a
sound tone when recording a path point and automatically pan the map
view to the current location during recording.
Paths#
This list shows all recorded routes (Fig. 28). Clicking on a specific road will draw it on the map (M). Click on the SEND button to send all paths which has not been sent yet.
- The Area attribute is an approximation of the area of a polygon formed by a path in square meters.
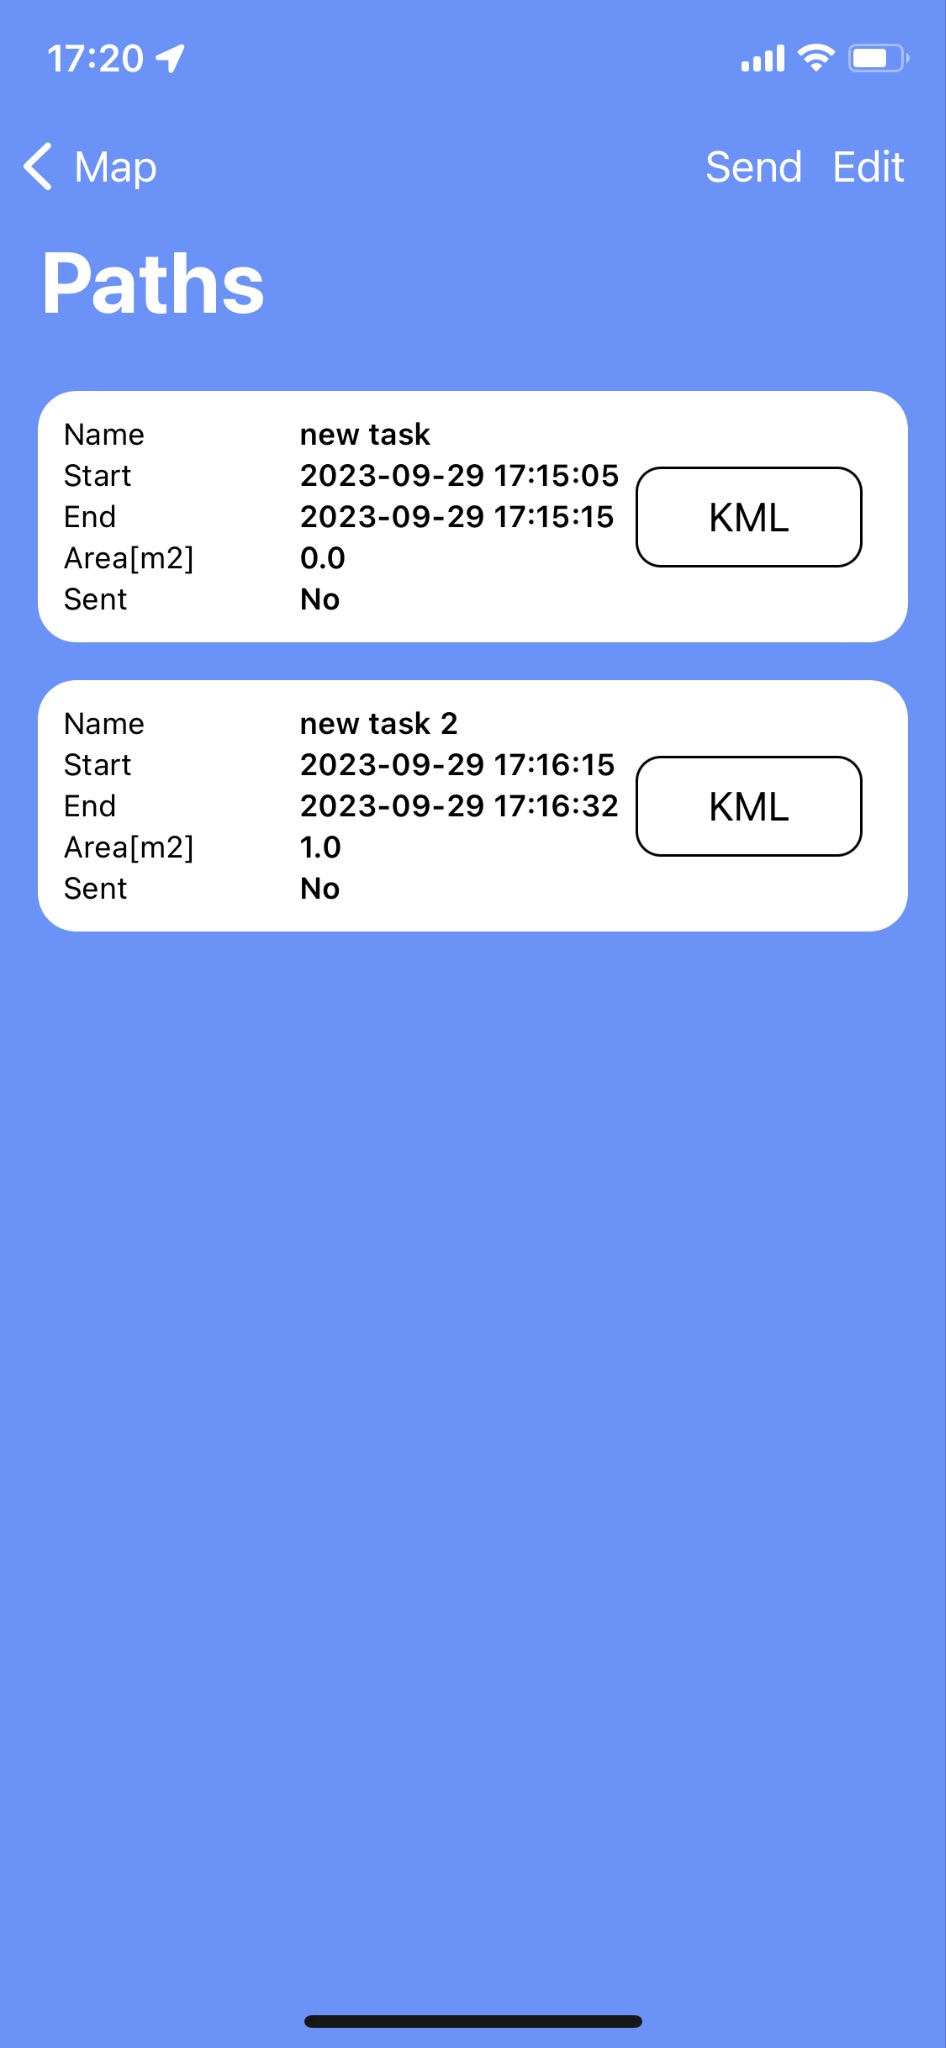
Fig. 30 Recorded paths list
Every path can be exported to a KML file on the phone with the respective “KML” button.