Task & Data Validation
Quick Start New Task#
This quickstart guide takes the mananger through the process of mananging tasks for site inspections.
- As supervisor/site manager login to web console
- Select a user and assign / create a new task
- Task creation select a Purpose for which the inspection, this is very important step, as later will be able filter and sort by Purpose
- The inspector will have a new Task listed in Mobile app and Web Console
Quick Start Task Actions#
- Supevisor/ site manager reviews photos taken during inspections.
- Change Status of Task, Approves, or returns to inspection to caputure additional photos.
- PDF report of site inspection is created http://preview.pic2bim.co.uk/Inspector/Web-Console/?h=pdf#411-generating-pdf-documents
Site Manager (Administrator)#
After logging in, the user management page is displayed. Graphically and functionally, the application is the same as in the approach for users. In the administrator access, controls are added as described below.
User management#
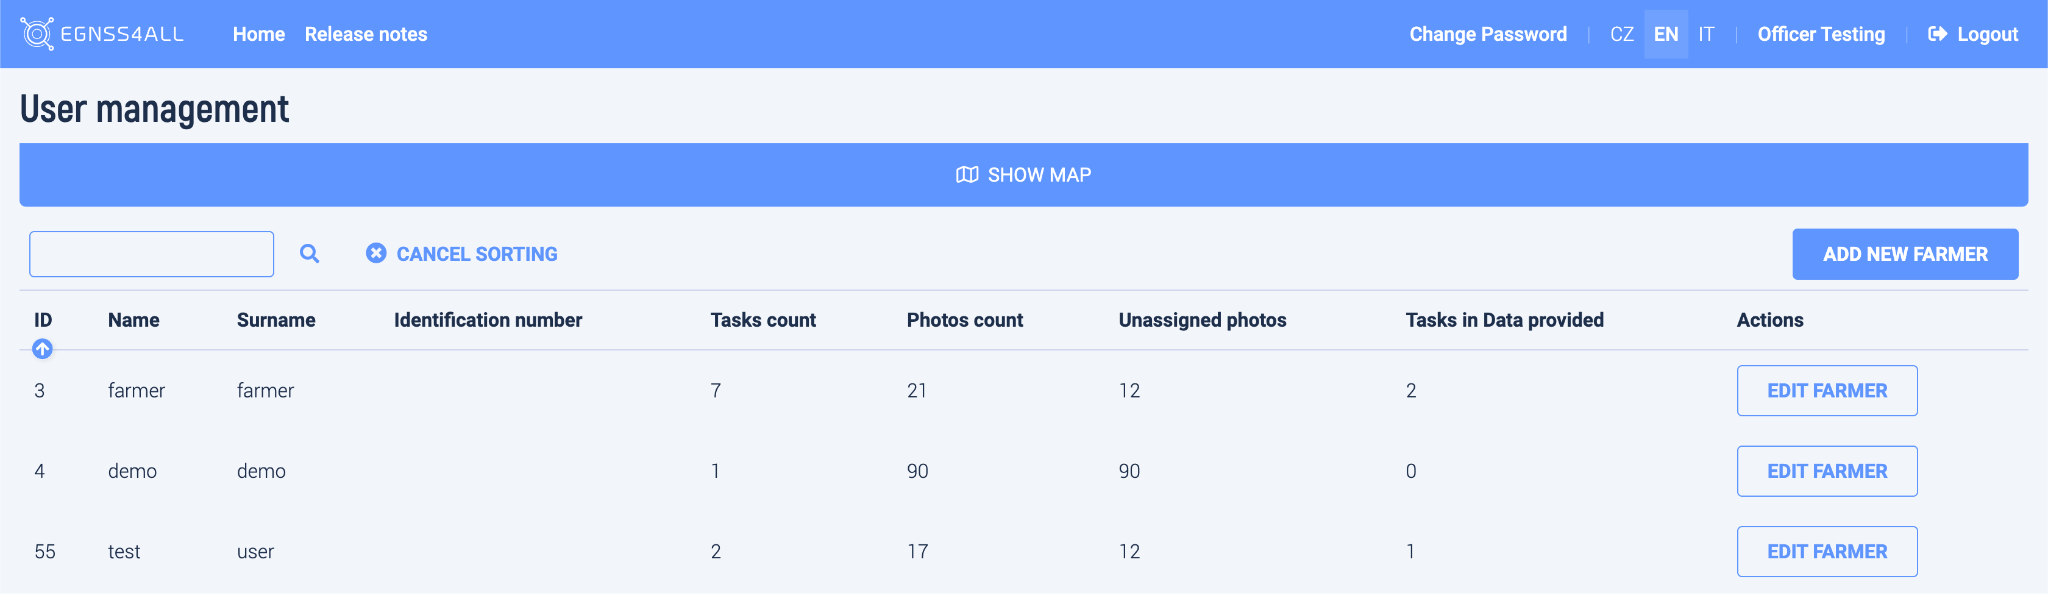
Fig. 50 User management
At the top is a map with all the tasks of all users. At the bottom is a list of users.
The following options can be used:
- Search for a user according to the entered text
![]()
- Sort users in the list by the selected column (by clicking on the column heading)

- Open user detail
![]()
-
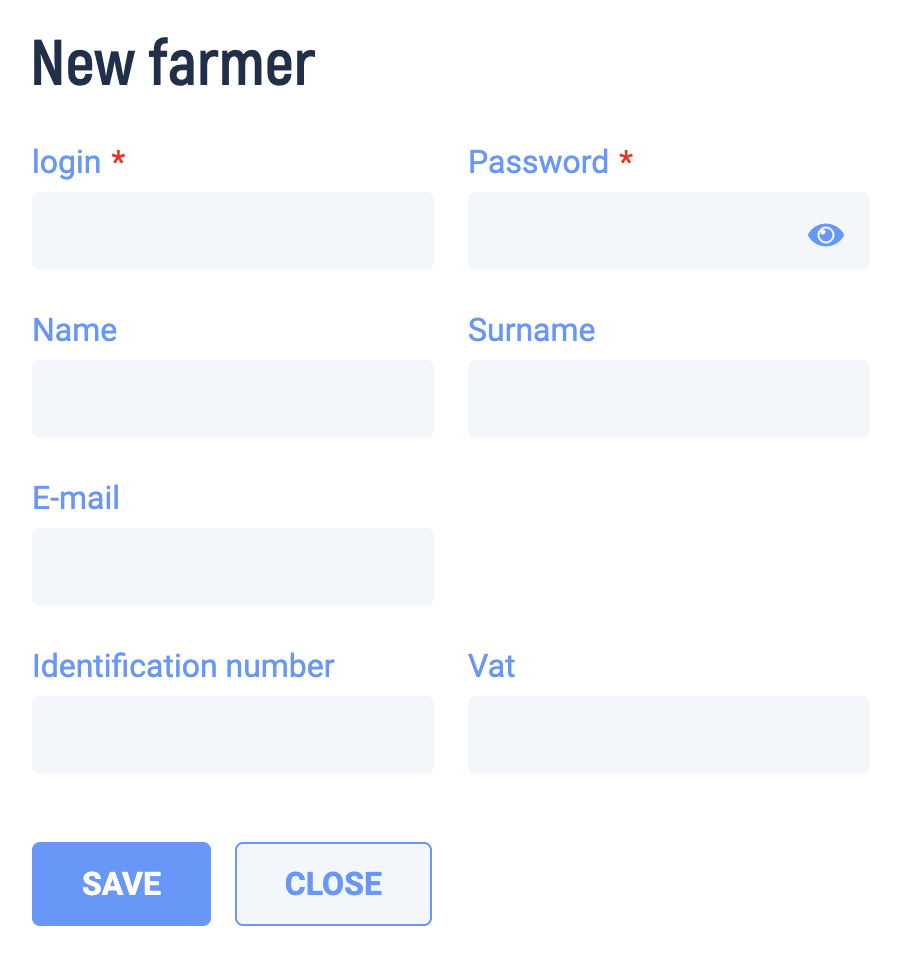
Add a new user
-
By clicking on the button, a table is displayed in which it is necessary to fill in the data of the new user
-
The creation of a new user is confirmed by pressing the Save button.
-
The entered login and password will be used by the user to access the application.
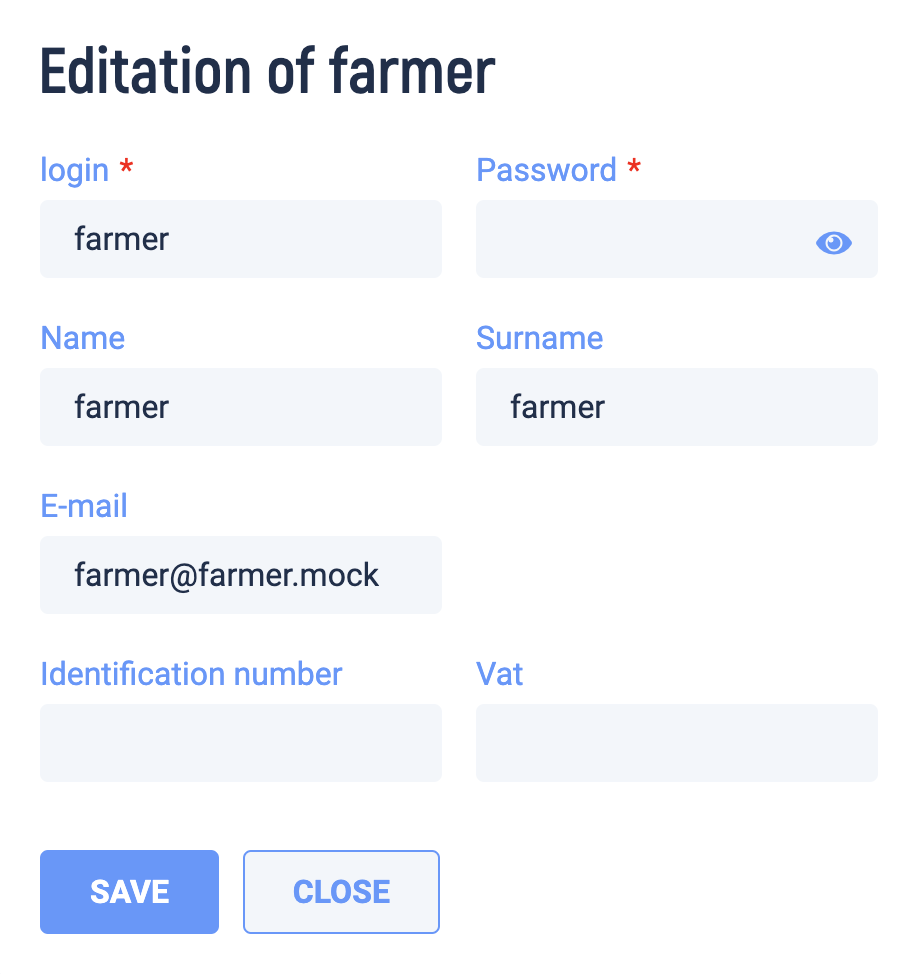
- Edit an existing user

- Clicking the button displays the same table as when creating a new user
In this case, the table is pre * populated with the data of the selected user
The data can be edited in the table (except for the login) and their modification can be confirmed with the Save button.
If the password field is left blank,the password remains the same.
User Detail#
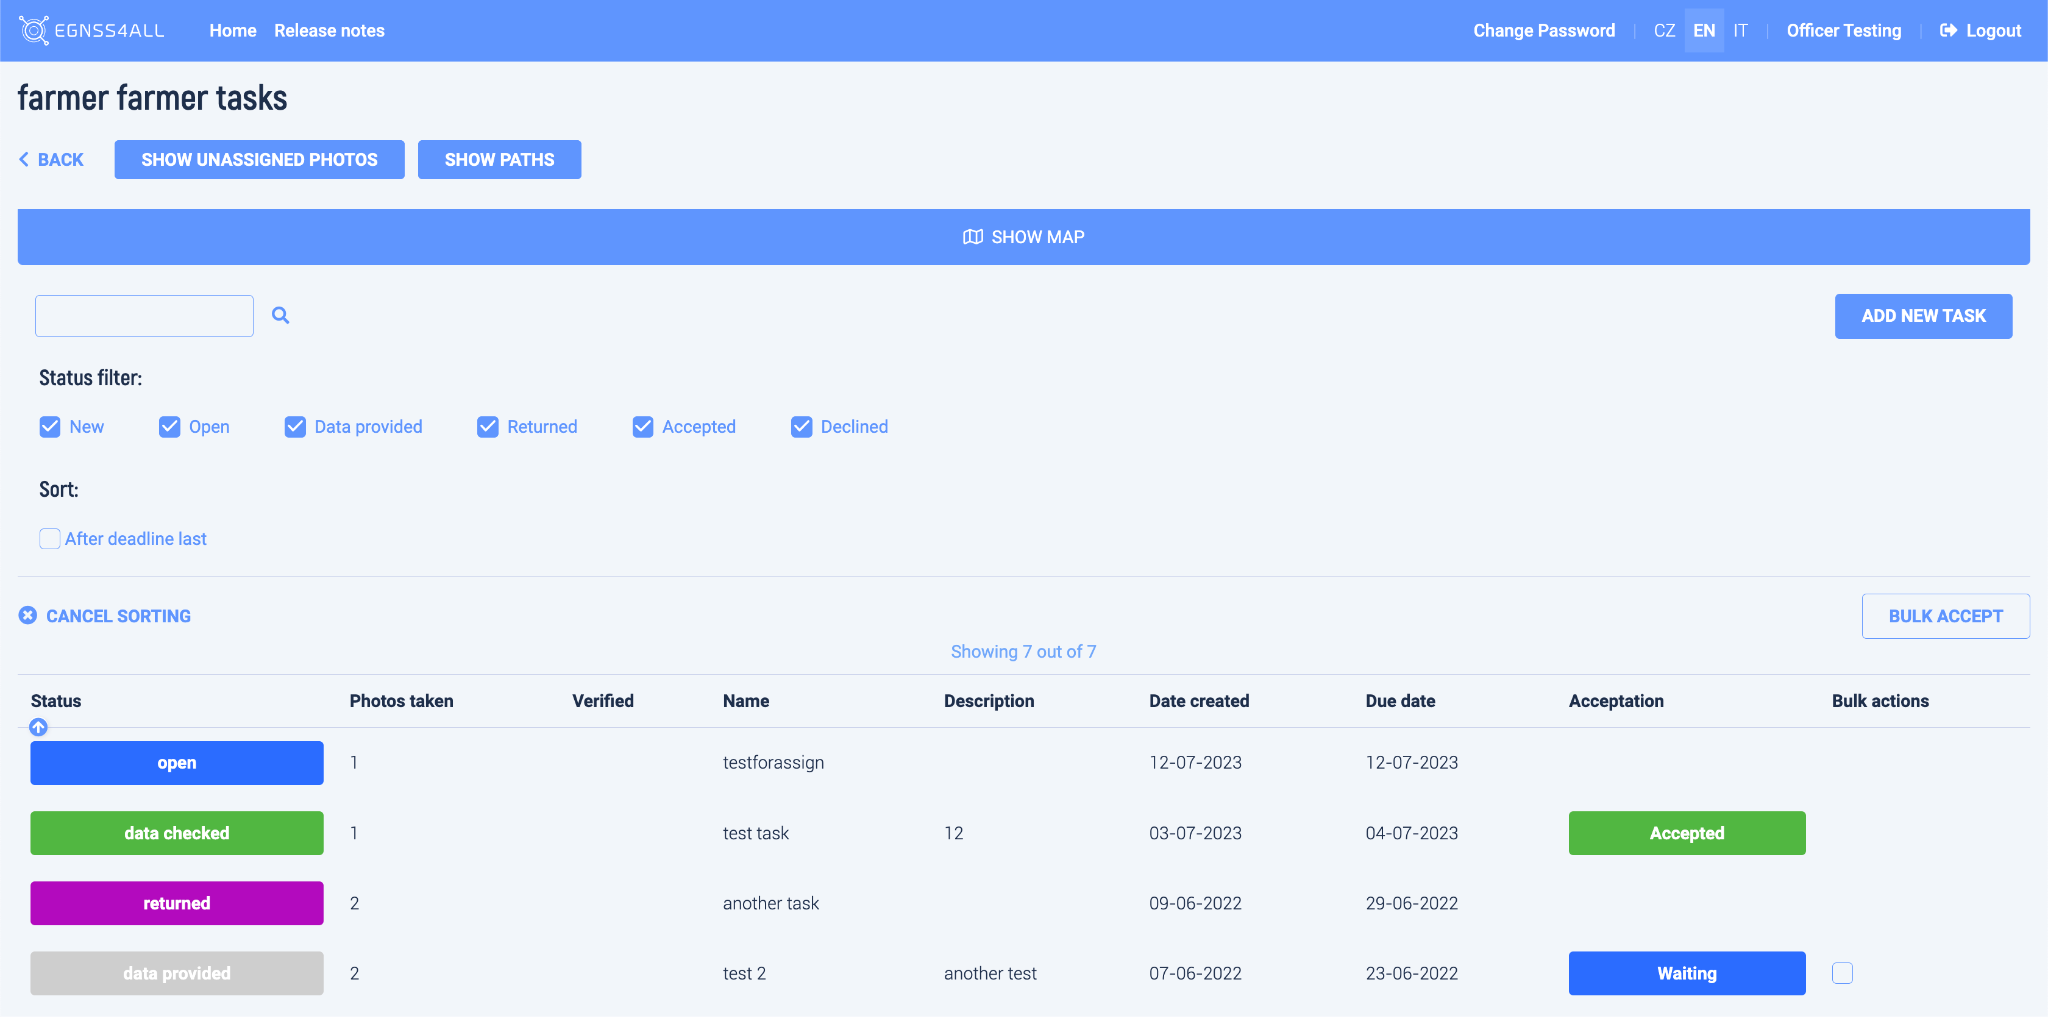
Fig. 51 Tasks Administrator
This page is the same as in the user's approach, extended by the following:
- New task
![]()
- Clicking on the button displays a table in which it is necessary to fill in the data of the new task. The creation of a new task is confirmed by pressing the Save button. A new task is created with the status "new"

-
Bulk task approval function
-
To perform a bulk approval, you must first mark the tasks to be approved. By checking the box for the required tasks in the right column of the table.
-
Only tasks with the status "data provided" can be approved.
-
After pressing the Approve in bulk button, a dialog box is displayed, where after pressing the OK button, the bulk action will be performed.
-
Approval of tasks changes their status to "data checked" and the acceptance status to "Approved".
-
Photos
-
The decoration Examined column graphically shows whether the photo checks were OK or not.
-
This involves checking the correctness of the position and checking the originality of the photo.
-
Complete control information is displayed in the task detail for each photo.
Task Management#
Task Detail#
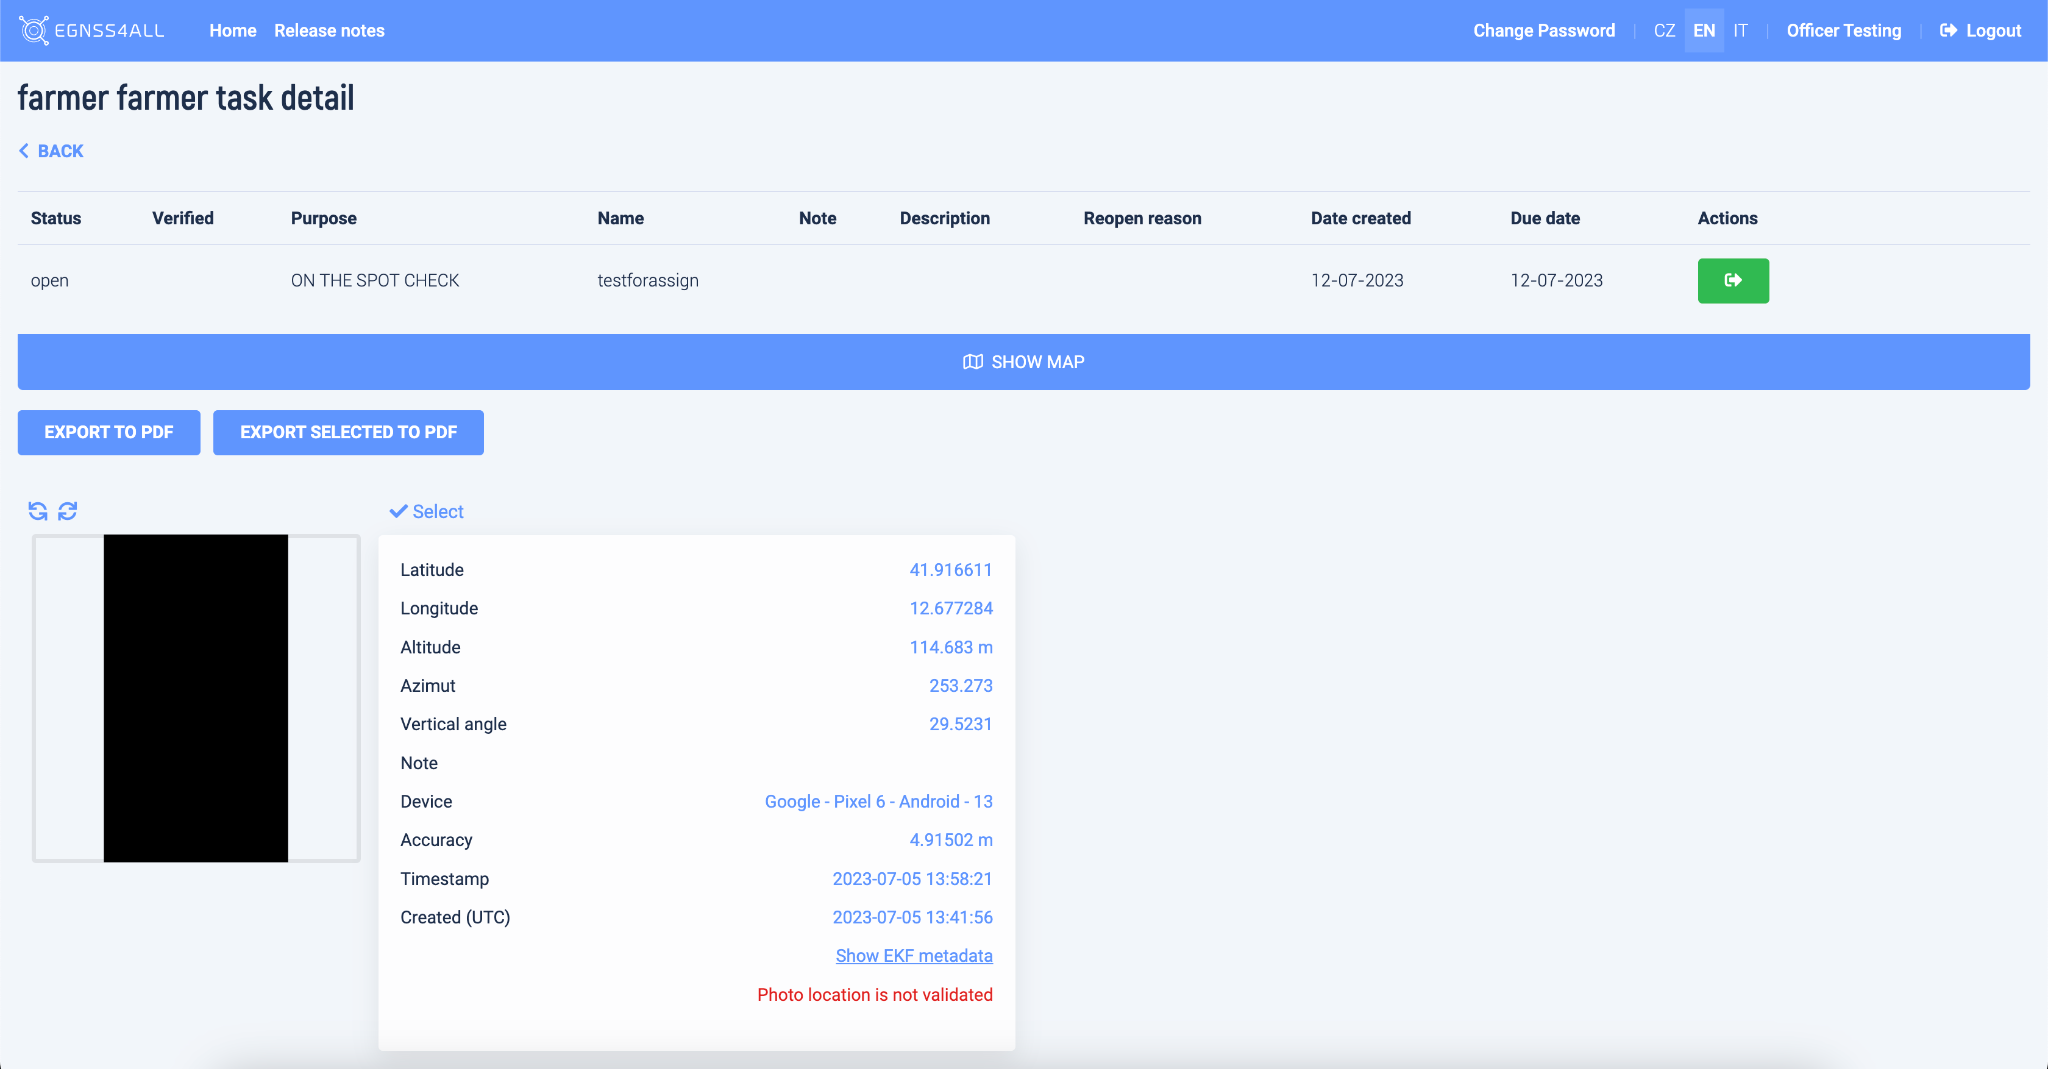
Fig. 51 Task detail – Administrator view
This page is the same as in the user's approach, extended by the following:
Task Detail Actions#
-
Approve

-
"data checked"and the reception status
-
"Approved".
-
Reject

-
This action is available with the status
-
"data provided", and results in the rejection of a task.
-
After pressing theReject button, a dialog box is displayed,where it is possible to enter a comment for rejection, and after pressing OK, the action will be performed.
-
The result of the action is the setting of the status "data checked" and the acceptance status "Rejected".
-
-
Return to user

-
This action is available with the status "data provided". It allows you to return the task to the user for completion.
-
After pressing the Undo button, a dialog box is displayed, where it is possible to enter a comment to be undone, and after pressing OK, the action will be performed.
-
The result of the action is the setting of the status "returned".
-
Move to "data provided"

-
This event is available with an "open"status. It allows you to move the task to "data provided" status.
-
After pressing the Move button, a dialog box is displayed, where it is possible to enter a comment, and after pressing OK, the action will be performed.
-
The result of the action is the setting of the status "data provided".

-
Delete
-
This action is available with the status "new". It allows you to delete a task.
-
After pressing the Delete button, a dialog box is displayed, where after pressing OK the action is performed.
-
The result of the action is deleting of the task.
-
Verification of photos
-
The Examined column graphically shows whether the photo checks were OK or not.
This involves checking the correctness of the position and checking the originality of the photo. -
View complete photo review information
-
The table of photo data shows the results of the performed checks in color.
Super-administrator#
After logging in, the Agency management page is displayed.
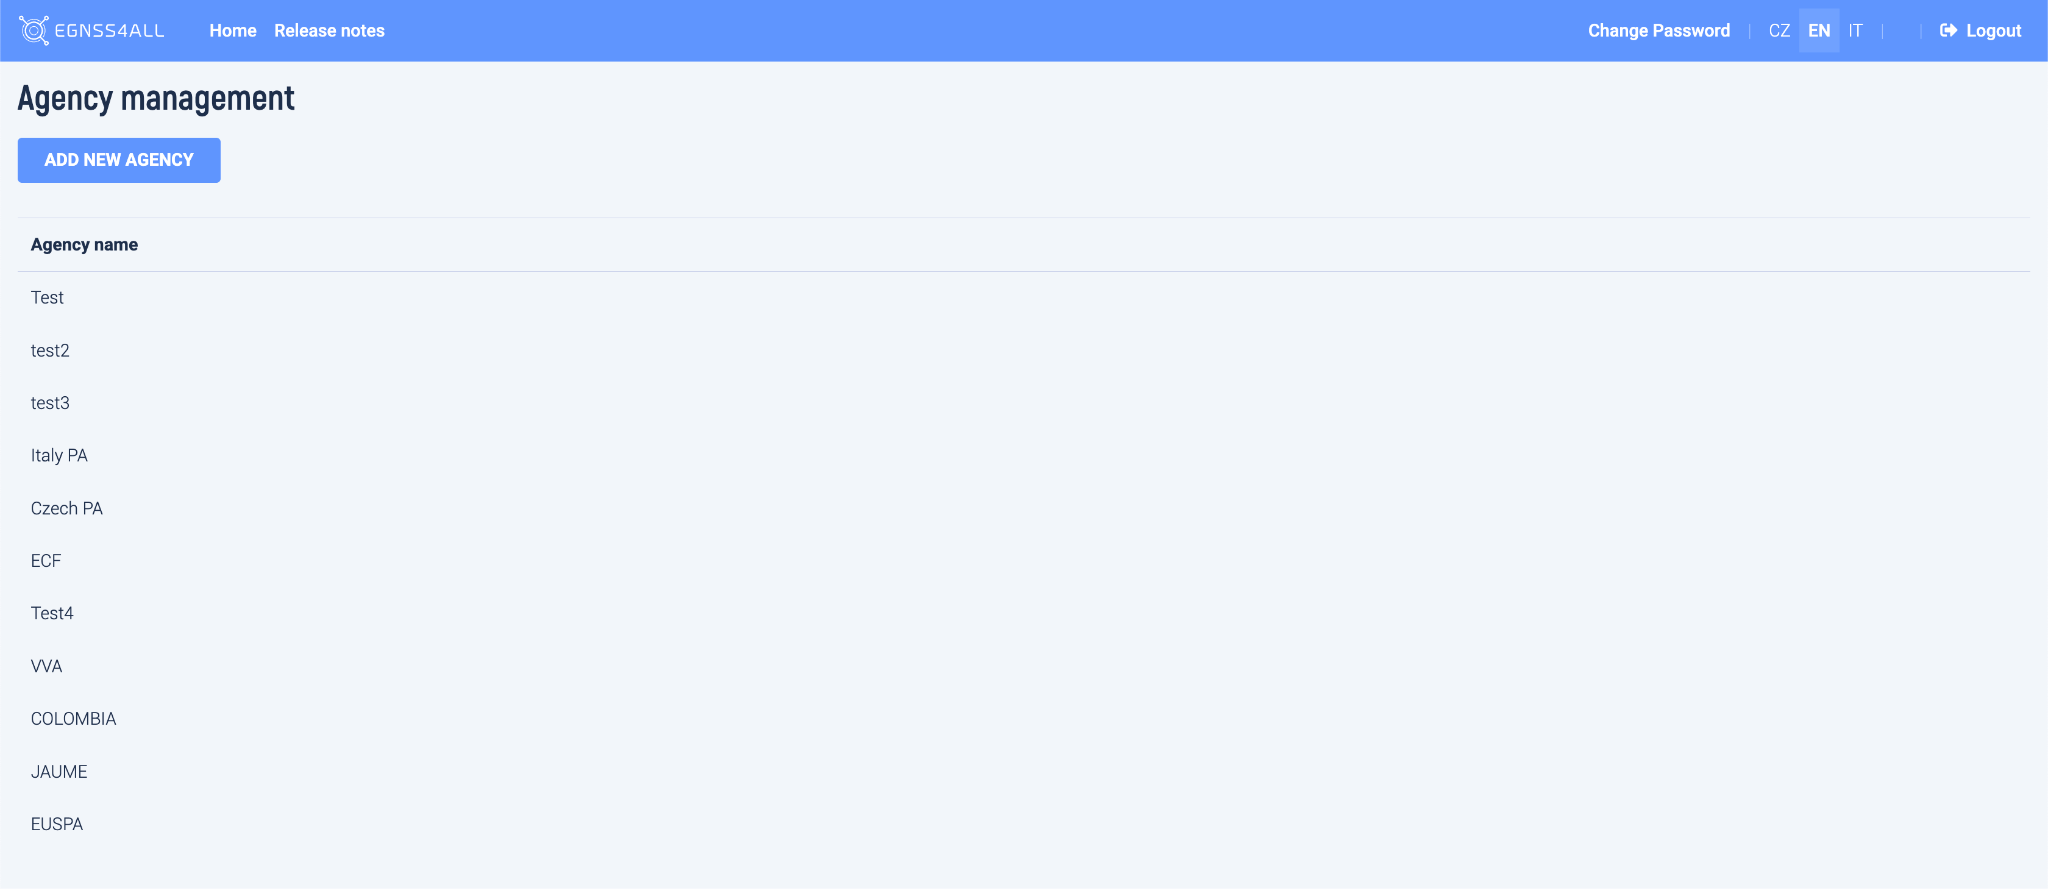
Fig. 53 Agency management
Agency list#
This page offers the following features:
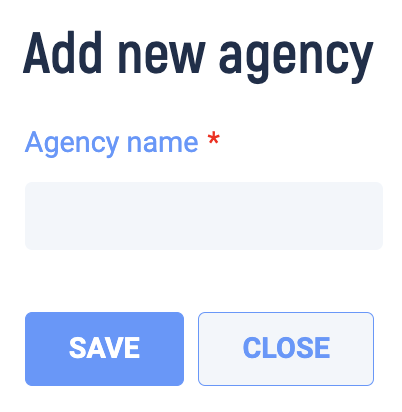
- Add new agency
![]()
- Clicking on the button displays a table in which it is necessary to fill in the name of the new agency. The creation of the agency is confirmed by pressing the Save button.
Open detail of the agency by clicking on a row of specified agency.
![]()
Agency detail#
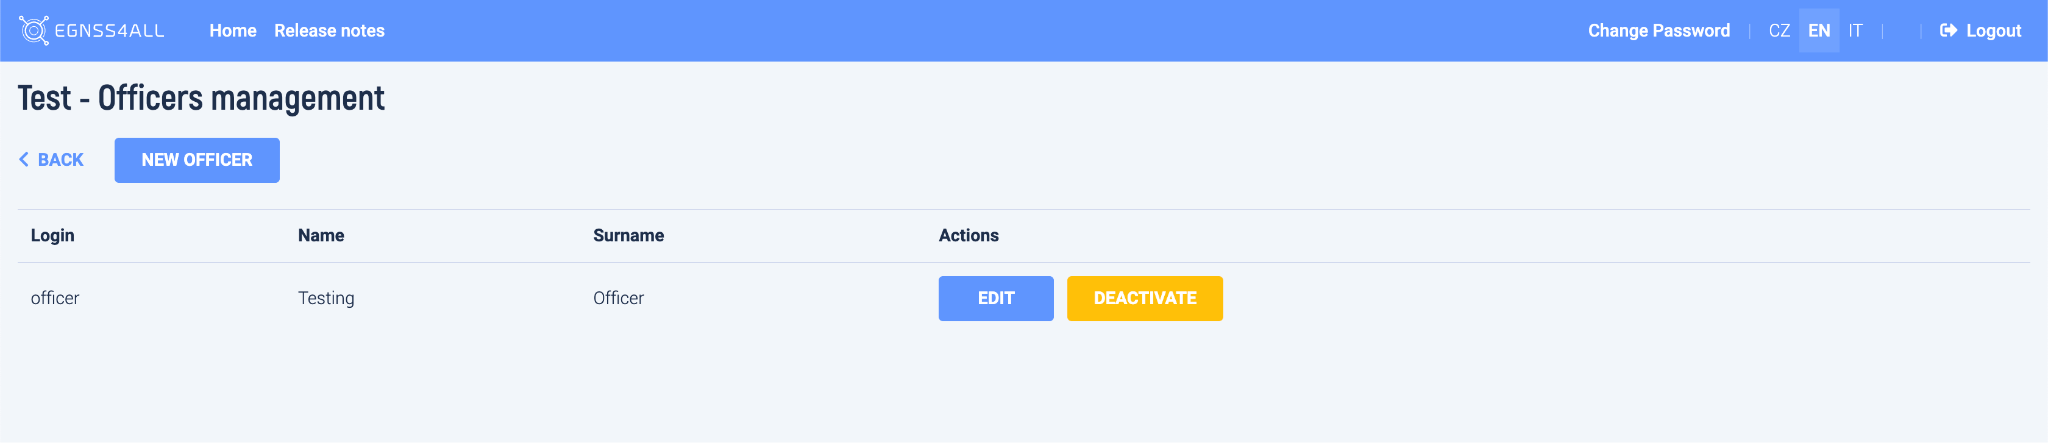
Fig. 54 Officers management
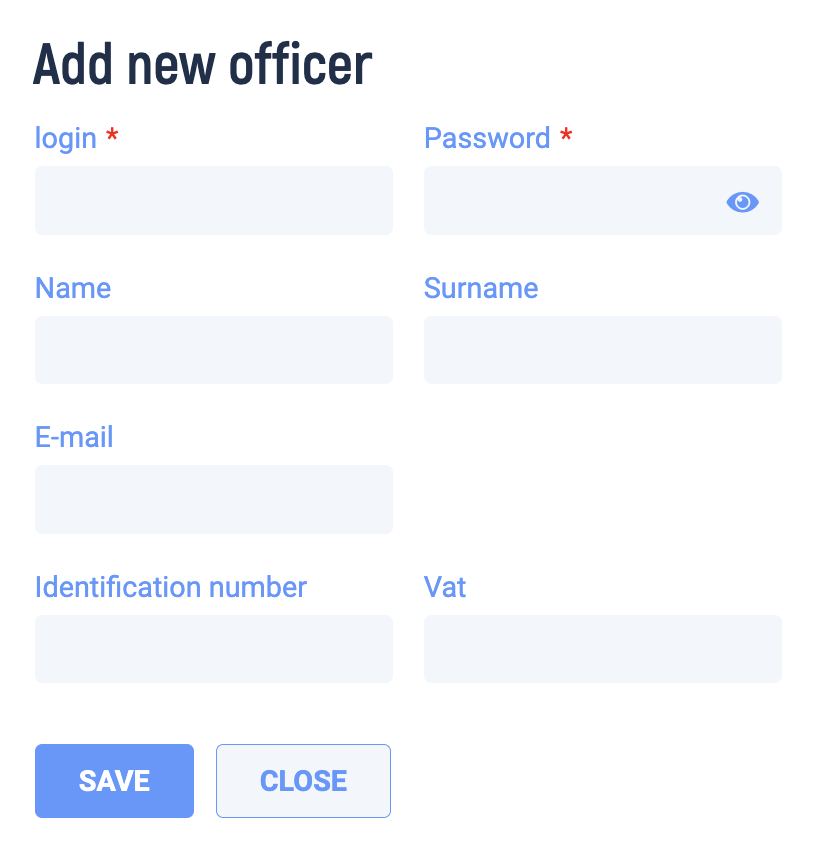
Add a new officer#

-
By clicking on the button, a table is displayed in which it is necessary to fill in the data of the new officer. The creation of a new officer is confirmed by pressing the Save button.
-
The entered login and password will be used by the user to access the application.
Edit an existing officer#
![]()
-
Clicking the button displays the same table as when creating a new officer. In this case, the table is pre * populated with the data of the selected officer. The data can be edited in the table (except for the login) and their modification can be confirmed with the Save button.
-
If the password field is left blank,the password remains the same.
Deactivate an existing officer#
![]()
-
After pressing the Deactivate button, a dialog box is displayed, where after pressing OK the action is performed.
-
The result of the action is deactivation of the selected officer.
-
The deactivated officer will be no more able to log in into application.
User roles permissions#
- Have access to his tasks and photos, but is not able to do any operations.
Officer (Adminstrator) role#
- Have access to all users that belong under his agency, can move tasks between states.
Super-admin role#
-
Have access to Agency management module. Can create new agencies and manage existing ones.
-
Does not have access to standard application.
